How to Create a INVISIBLE MANNEQUIN in Photoshop?
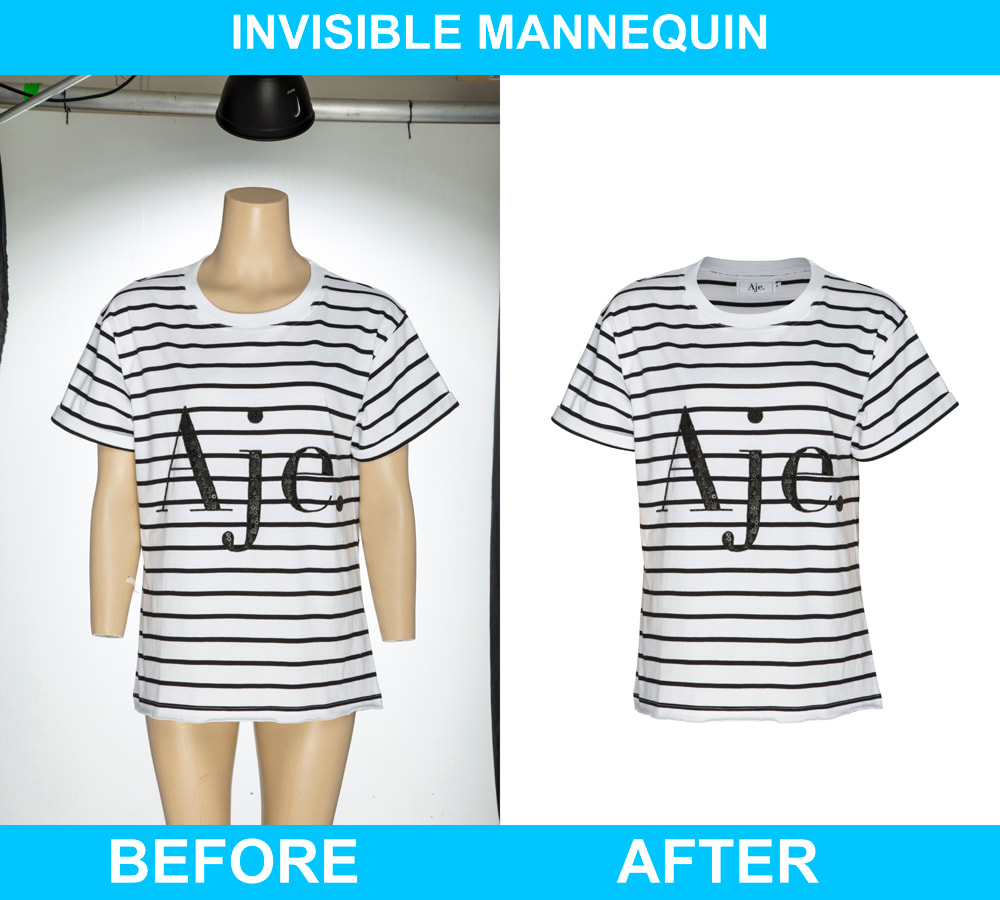
Concluding our stage setup, here comes our mannequin photo editing part. If you have to edit your clothing product by yourself, here is the step-by-step process to do it in Adobe Photoshop.
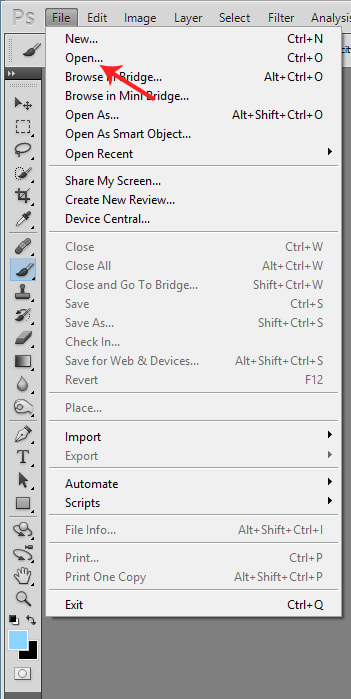
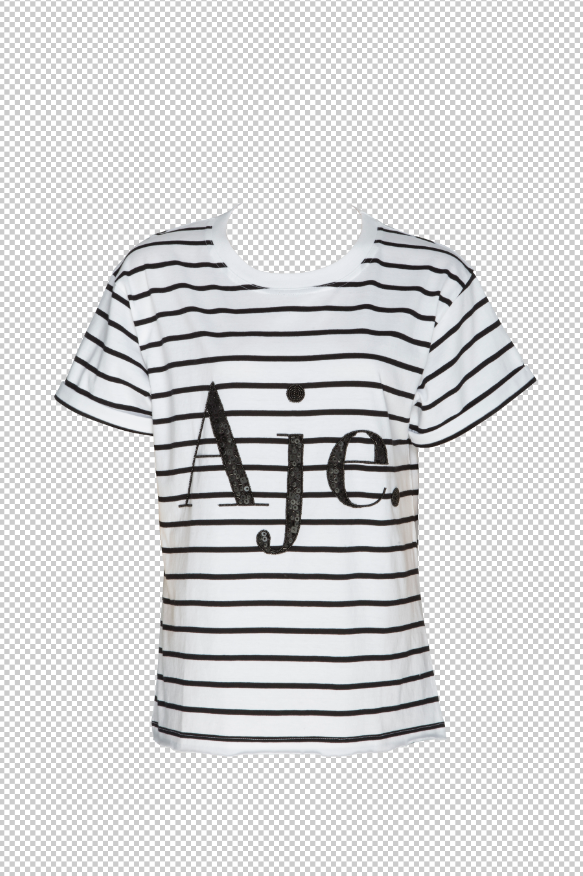
Step 1 : Open the image
Step 2: Create Clipping Path
Now create a clipping path by using the Pen Tool. Pick the tool from the toolbar. Press ‘Ctrl & +’ on your keyboard at a time to Zoom the image. Zoom in as much as you need so that you can see the edges clearly. Then create a clipping path around the dress by creating anchor points.

Leaving the unwanted parts, draw a line covering the whole dress. Start from the top of the mannequin’s collar. While creating anchor points, be careful about the edges so that no part of your product is erased.
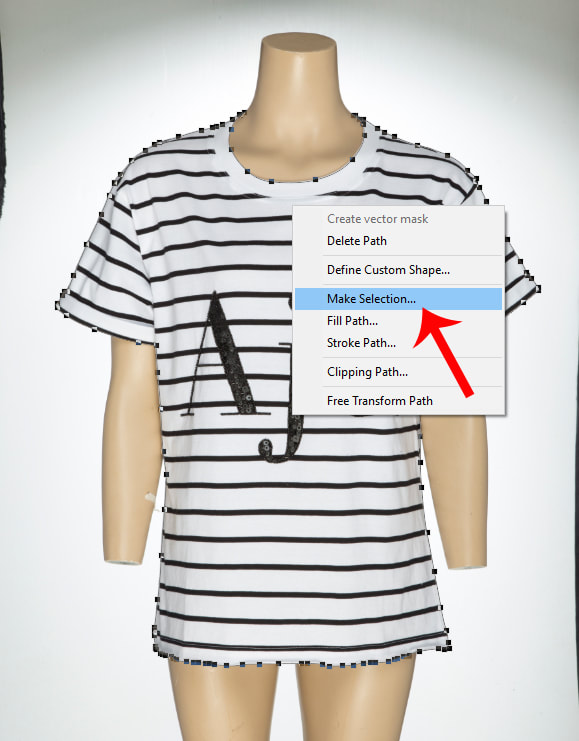
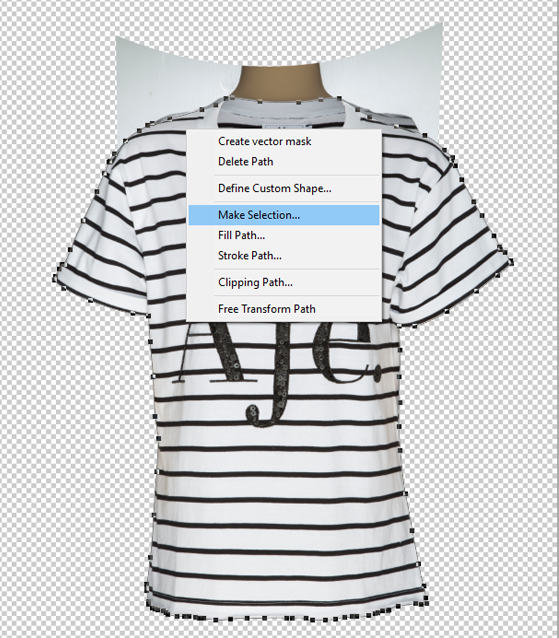
Step 3 : Remove Background
Right-click on the mouse and a box will pop-up. Click on ‘Make Selection’ from the menu.
Now, go to the Layer Panel and there is a square box below, with a circle inside. Click on that button to add a layer mask. This will remove the background. Then, right-click on the mask and click on ‘Apply Mask’.
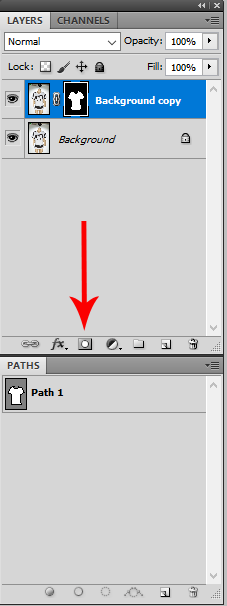
Turn off the Background layer by clicking on the eye beside Background Layer.
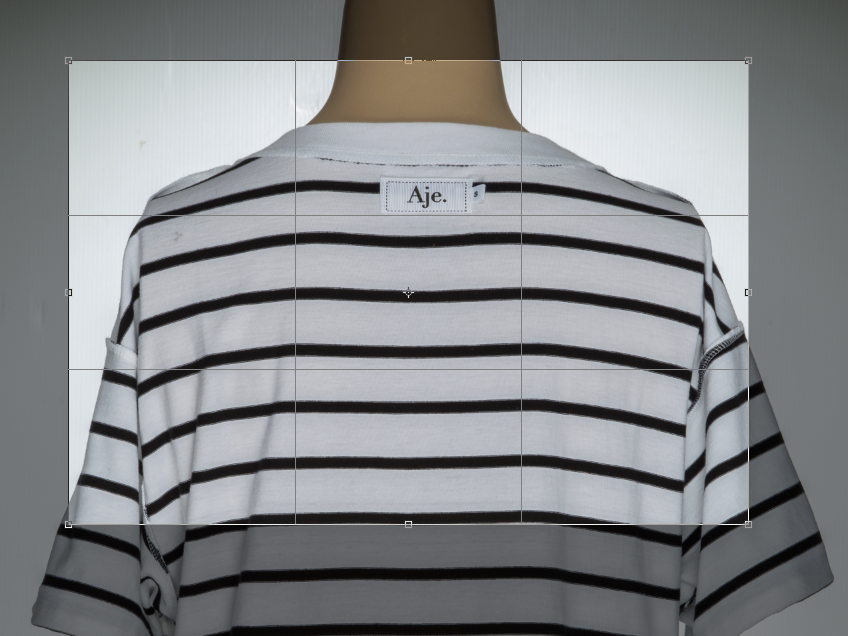
Step 4 : Cut the collar image
Go to File and then click on Open to open the inside back image of the T-shirt.
Now, take the crop tool from the toolbar and draw a box around the collar to crop the collar area with the label, and then press Enter.
Step 5 : Place the Collar
Click on the collar image Layer, hold and drag the Layer and place it on the main image. Move the collar’s image underneath the first layer of the front.
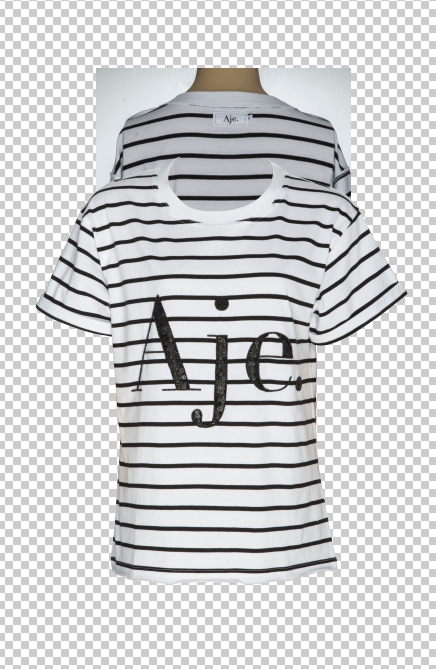
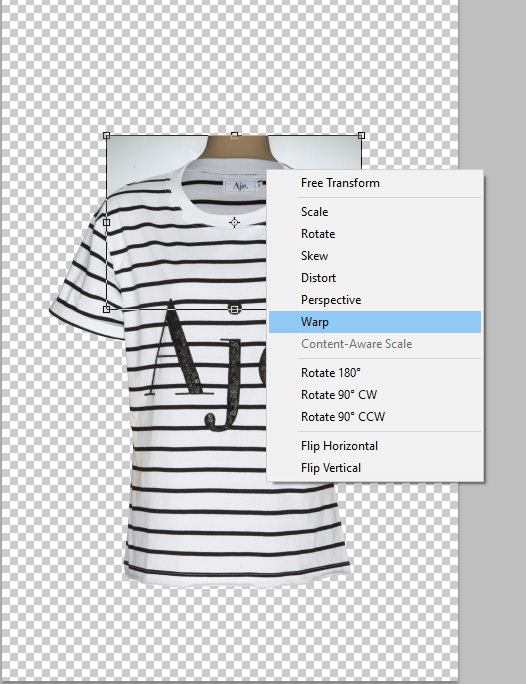
To adjust the collar position, click on Edit from the top menu and click on Free Transformation, or you can just press Ctrl+T. This will allow you to move the collar wherever you need it. Now, set the collar position.
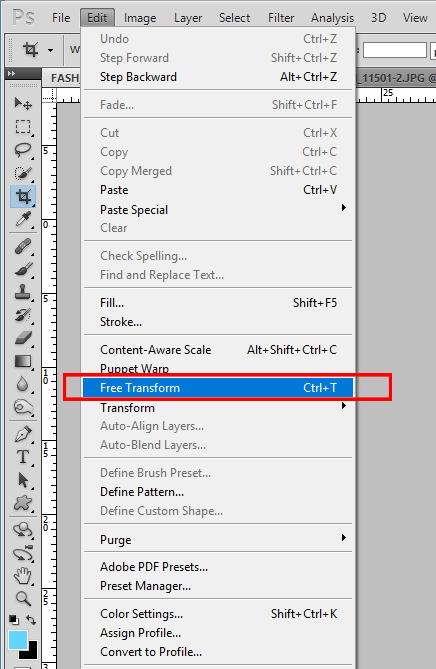
You might need to set the angle too. For that, right-click on your mouse and select Warp option, and set the angle with the main image. Make sure you’re working on Free Transform, otherwise Warp won’t work.
Step 6 : Create Shadow
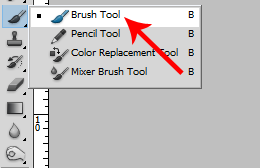
Select the Brush Tool from the toolbar. Set the opacity according to your need, which can be around 35% and 40%. Make sure your foreground color is selected as black.
Now, start to brush the area under the collar to add shadow to the image.

Step 9 : Delete Anchor Points
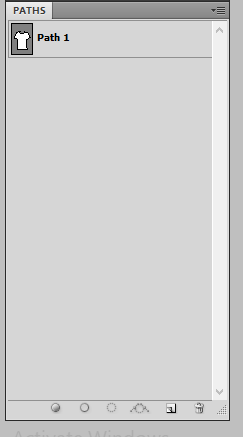
Click on the path you created before from the layer menu.
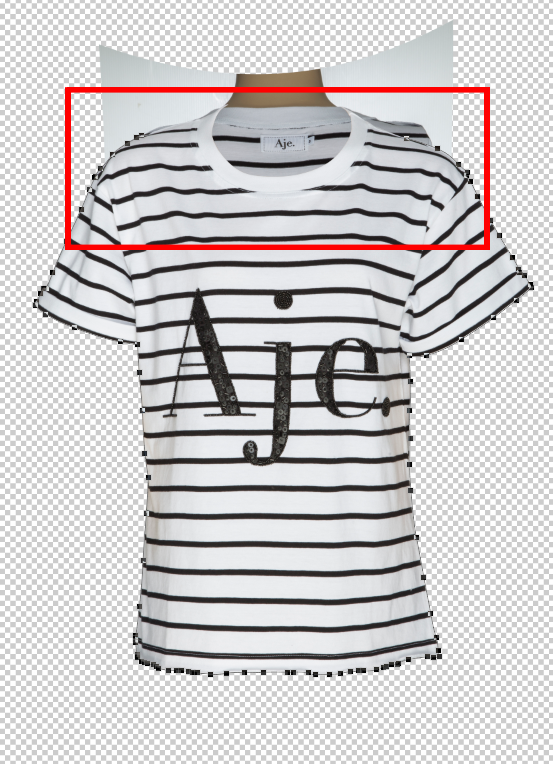
Pick the Pen tool from the toolbar. Now, draw a box around the collar area to select the anchor points you want to delete. Press ctrl on your keyboard and click on your mouse to select the anchor points. Click on delete on your keyboard to delete the anchor points around the collar.
Step 8 : Create New Path
Now, add new anchor points, including the collar, and create a path.

Step 9 : Delete unwanted area
Make the selection path and click Ctrt+shift+I selection background area and delete Mask leyer and delete Collar
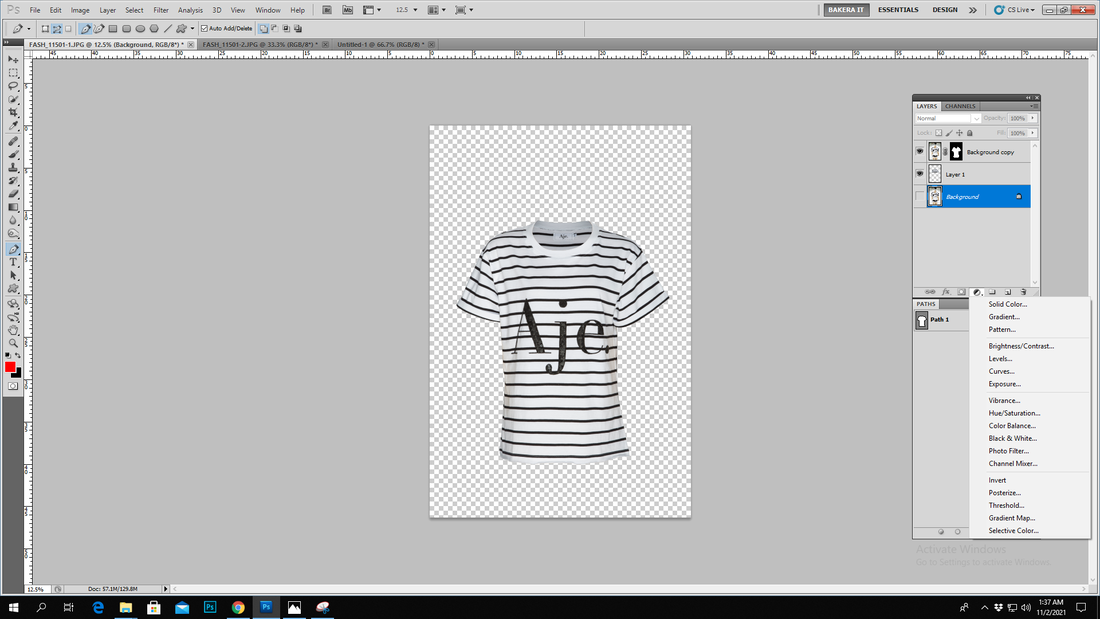
Step 10 : Change the background color
Go to Layer Menu and select the Background Layer. Now, click on the round box below the Layer menu. Click on the Solid Color and choose the color you want to put as the background color. If you see your product color has changed, just press ‘Ctrl + I’ on your keyboard. This will invert the color.
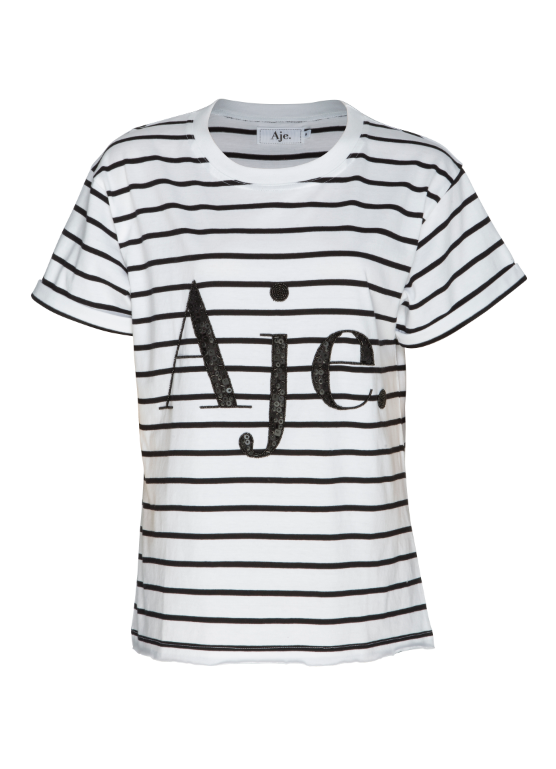
Step 11 : Save the file
Work is done then save your file
How to Outsource Post-processing Part?
Bakera IT offers this service at a competitive price range. A team of experienced professionals is assigned to do this task particularly.
Apart from the regular pricing, you will get a discount at bulk amount order.
Comments
Post a Comment